


Camber, a vital wheel angle, affects vehicle handling, stability, and tire wear. When installing lowering springs that alter vehicle geometry, proper camber management is crucial. Positive camber enhances cornering, while negative camber improves straight-line stability but may increase tire wear. Balancing these factors with components like muffler tips, air intakes, and suspension kits ensures optimal performance and longevity. After lowering spring installation, adjust camber using jack stands, a camber gauge, and small increments to achieve the ideal angle, balancing tire wear and steering control. Prioritize safety by working under secure jackstands, wearing protective gear, and ensuring good brake condition throughout the process.
After installing lowering springs, adjusting camber is crucial for optimal vehicle performance. This guide will walk you through the process, ensuring your car handles smoothly and safely on the road. We’ll cover everything from understanding camber’s impact on your vehicle’s alignment to the safety precautions and tools needed for a successful adjustment. By following these steps, you’ll achieve the perfect camber setting for your lowered springs.
- Understanding Camber and Its Impact on Your Vehicle
- Steps to Adjust Camber After Lowering Springs Installation
- Safety Precautions and Tools Required for the Process
Understanding Camber and Its Impact on Your Vehicle
Camber is a critical geometric property of your vehicle’s wheels, representing the angle at which the wheel is tilted inward or outward from the vertical axis when viewed from the side. It plays a significant role in several aspects of your driving experience, including handling, stability, and tire wear. Understanding camber is essential, especially when you install lowering springs, as it can dramatically affect your vehicle’s performance and appearance.
When you lower your vehicle using springs, you’re effectively changing its geometry, which can alter the camber. Depending on the spring rate and installation method, your car might develop either positive or negative camber. Positive camber (wheels tilted outward) is often preferred for improved cornering and stability, while negative camber (wheels tilted inward) may enhance straight-line stability but can lead to increased tire wear. Balancing these factors requires careful consideration of not just the lowering springs but also other components like muffler tips, air intake systems, and suspension kits, to ensure optimal performance and longevity for your vehicle.
Steps to Adjust Camber After Lowering Springs Installation
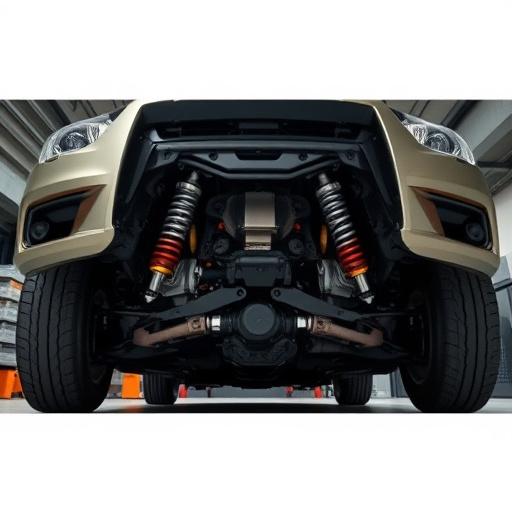
After installing lowering springs, adjusting camber is a crucial step to ensure your vehicle’s stability and handling. Begin by lifting the front of your car using jack stands for safety and accessibility. Next, use a camber gauge to measure the current camber angle. Compare this with the manufacturer’s recommended settings, which can be found in your vehicle’s owner manual or online resources specific to your make and model. The goal is to achieve the ideal camber that aligns with your lowered spring setup for optimal performance.
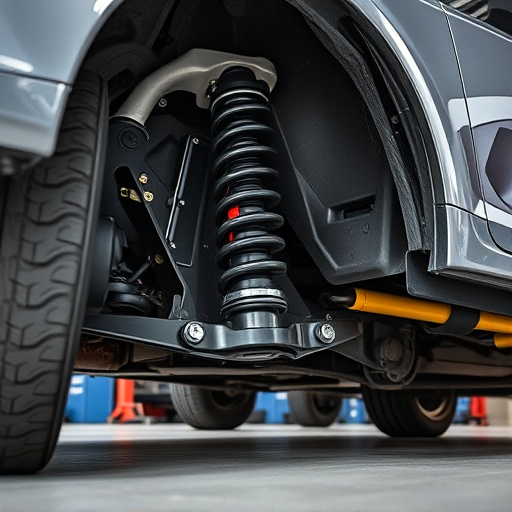
Adjusting camber involves tightening or loosening the wheel-alignment screws on your car’s suspension. Turn these screws in small increments, typically 1/4 turn at a time, until you reach the desired camber angle. Remember, too much negative camber can lead to tire wear and handling issues, while excessive positive camber may cause steering problems. Once satisfied with the camber adjustment, lower your vehicle from the jack stands and test drive it to ensure the changes have been effective. Also, consider checking your exhaust mufflers and tips for any rattle or damage caused by the adjustments, as improper camber can affect the fit of these components in some vehicles.
Safety Precautions and Tools Required for the Process
Before adjusting camber after installing lowering springs, prioritize safety and ensure you have the right tools on hand. Safety precautions are paramount; always work under a secure jackstand and never on an unsteady surface. Wear appropriate protective gear, including gloves and eye protection, to avoid any potential hazards.
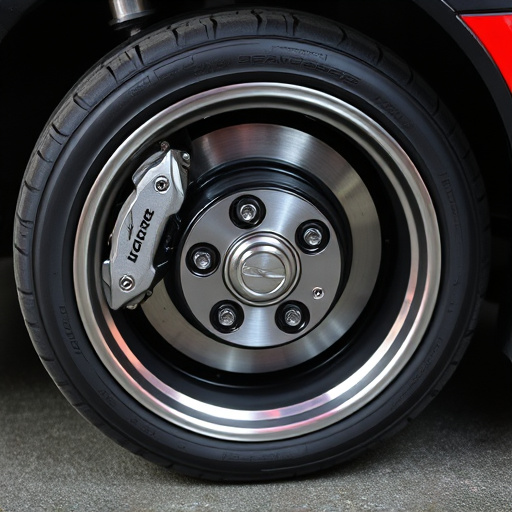
The tools required for this process include a camber gauge, wrenches suitable for your vehicle’s bolt size, a torque wrench, and possibly a new set of wheel alignment brackets if needed. Coilover kits and intake components may need adjustments as well, so have them ready. For those with performance brakes, ensure they remain in good condition throughout the process to maintain optimal stopping power.
When installing lowering springs, adjusting camber is crucial to ensure optimal vehicle performance and handling. By following these steps and taking necessary safety precautions, you can fine-tune your car’s alignment, resulting in a smoother ride and enhanced cornering capabilities. Remember, the right camber settings can make all the difference on both daily drives and tracks, so take your time and refer to this guide whenever needed for your lowering springs adjustments.